Photos make a wonderful and thoughtful gift. These simple Photo Coasters are a great way to give a photo that will last for years. They are very inexpensive to make and take little time. Someone on your gift list will love these!
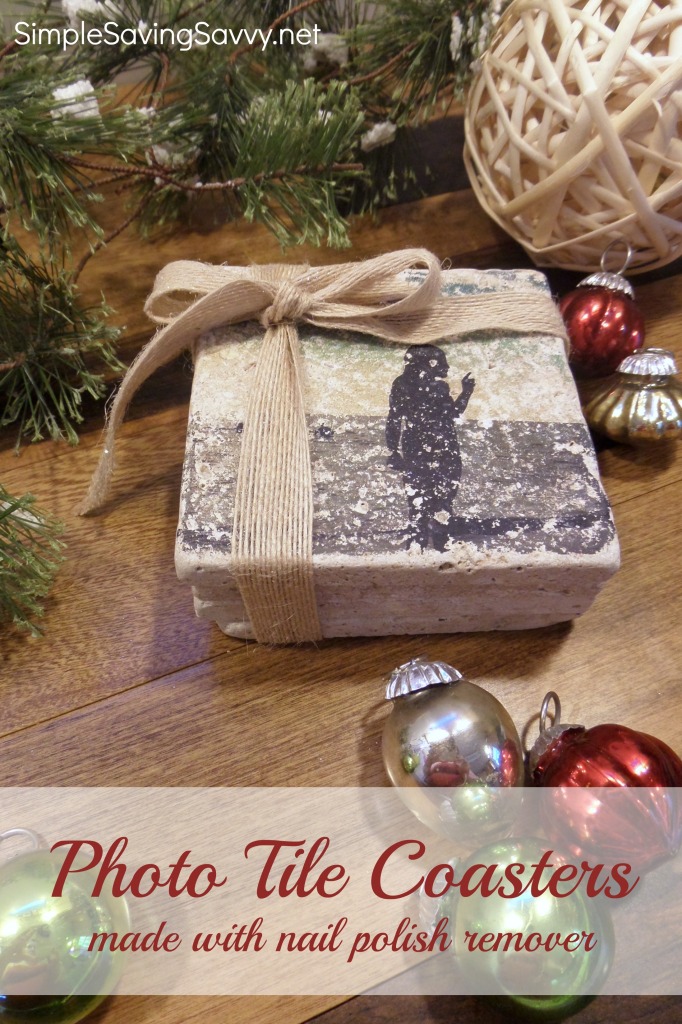
DIY Photo Tile Coasters
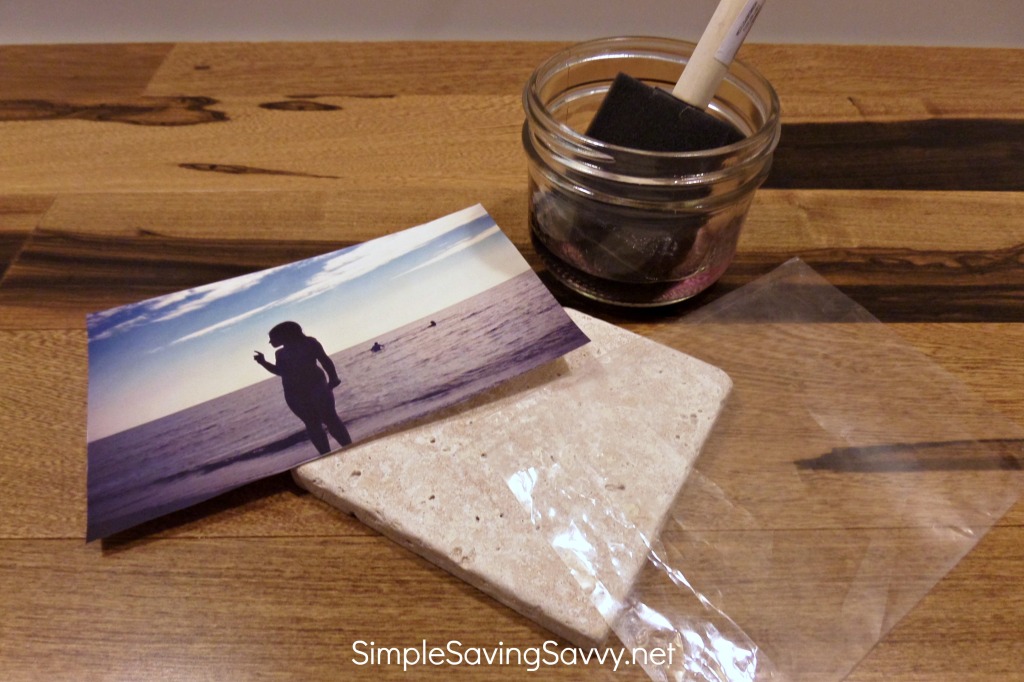
Supplies:
- 4″x4″ stone tiles – note: the photo transfer will not work with ceramic tile, it must be stone
- nail polish remover that contains acetone
- paper copies of your favorite photos – the darker the image, the better the transfer
- 1 sheet of acetate
- a knife or boning tool to use for applying pressure as you transfer the photo
- tile sealer
- foam brushes
Note: The paper copies need to be made on a copy machine or printer that uses TONER not ink. This method will not work properly with ink or laser jet printers. Most local office stores or local printing companies use toner. Because the image will be transferred face down, consider reversing the image before printing it so words and other aspects will face the correct direction on the finished tile.
Instructions:
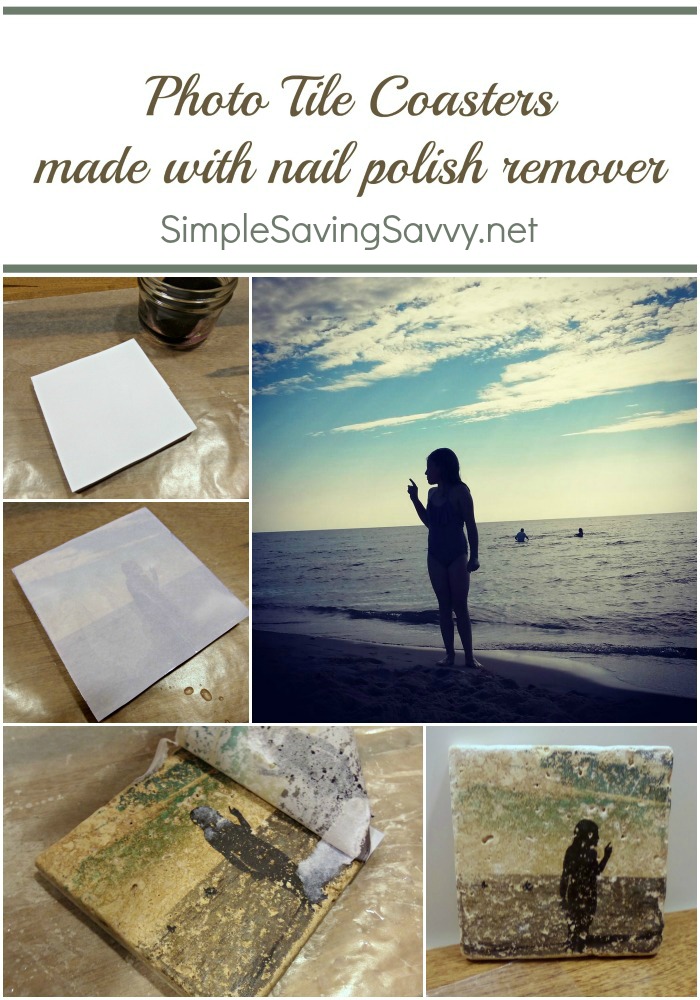
Begin by cutting your photo to the same size as the tile you are using. It can be slightly larger as the access paper will rub off.
Turn your photo face down on top of the tile.
Use the foam brush to apply a generous amount of nail polish remover to the back of the photo
Cover the photo and tile with the sheet of acetate and use the knife of boning tool to rub across the acetate. The acetate protects the photo while you rub and apply pressure. It takes time, elbow grease, and patience, but it is so worth it in the end! Continue rubbing the acetate with the knife. Lift the acetate off and apply more nail polish remover. Replace the acetate and continue rubbing.
After a few applications of nail polish remover and rubbing, carefully lift the corner of the photo paper to see if the ink is transferring. If it has not completely transferred, repeat the above process.
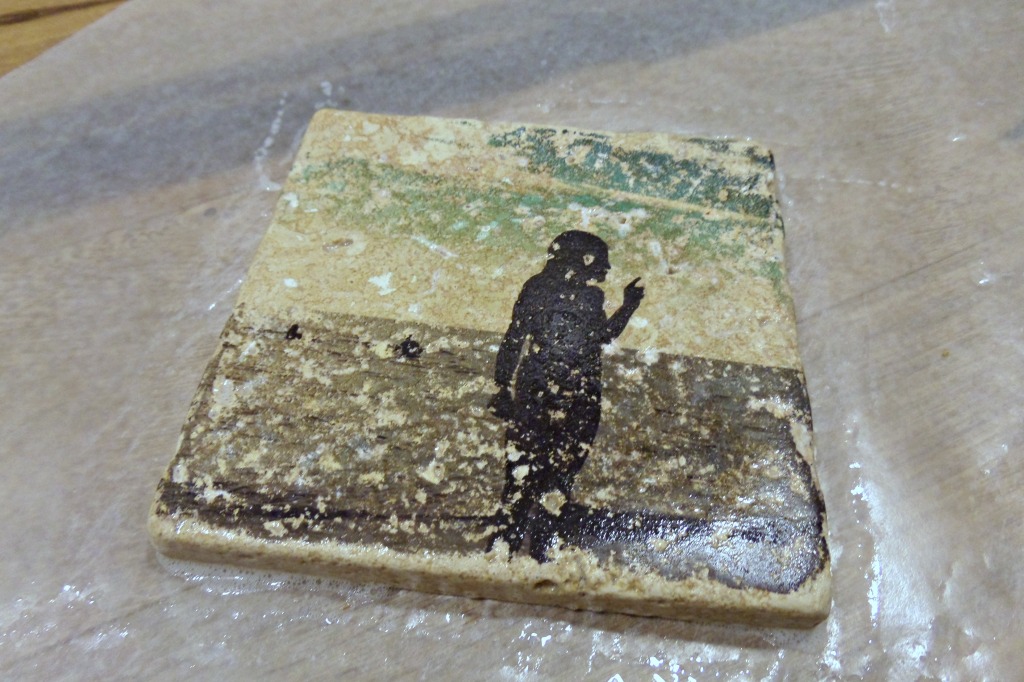
Once the image has transferred to the tile, remove the paper and use your fingers to rub off any stuck on paper.
Rinse the tile off and let it dry.
In the image below you can see the original photo I used for the tile. I did several tiles using different photos but the photos with darker and more contrasting colors turned out the best.
To finish the tile, apply a coat or two of tile sealer over the image.
When the sealer has dried, stack the set of photo coasters together and tie a piece of ribbon or twine around them. They will make a beautiful and meaningful gift!