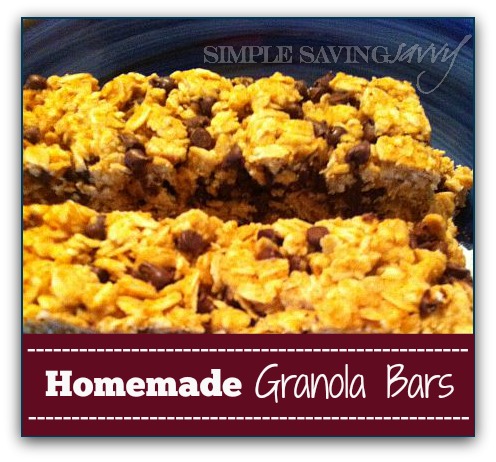
 Homemade Granola Bars are a favorite around our house! Hubs likes them plain without any add-ins. One of my daughters likes them with butterscotch chips. And the boys, well they’re boys, they’ll eat anything!
These babies look gorgeous coming out of the oven. And they smell heavenly.
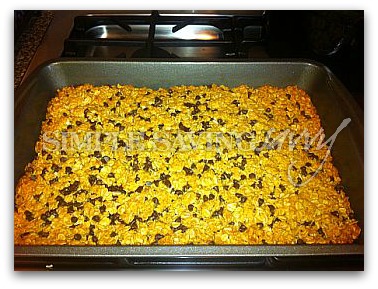
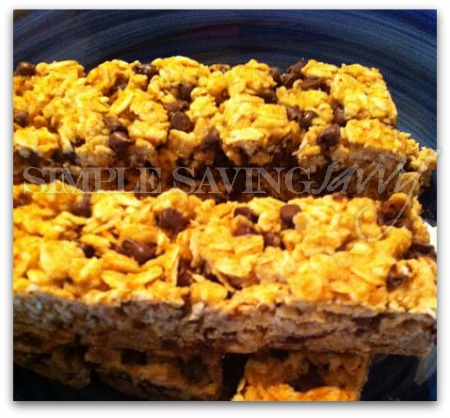
I let them cool completely, invert them onto a large cutting board and then cut them into nine rows following the line on the short side, then cut those rows in half. This creates a standard size granola bar.
If you wanted, you could create square shaped bars instead.
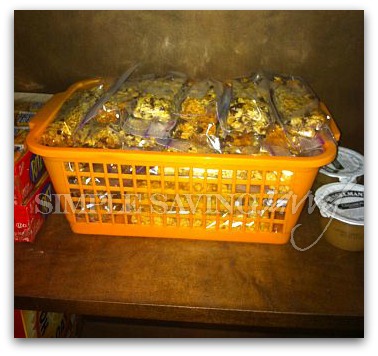
I package mine in resealable snack bags and pile them in a basket in the pantry for quick snacks. They never last long. If I have time, I make several batches at once and freeze them. I still package them in snack bags and place those inside a gallon size freezer bag. They thaw quickly and you can grab as many as you need.
Three reasons why you should make Homemade Granola Bars
- They’re much less expensive than buying them at the store. One batch costs about the same as one box would cost at the store, not on sale. However, one batch yields a little over three boxes (18 bars to be exact).
- They are minimally processed! While we’re not jumping totally on the crunchy bandwagon, our family is trying to cut out many of the processed foods we eat and this is one delicious way to do it.
- You can customize them. Just change up the add-ins. I make chocolate chip, butterscotch, butterscotch almond and plain. Beware that the add-ins are what can run up the cost so choose wisely.
[amd-zlrecipe-recipe:33]
Thank you so much for this recipe Amanda!!! Just what I needed. I printed it out!! 🙂
Thanks Amanda! I’m going to make these tonight.