
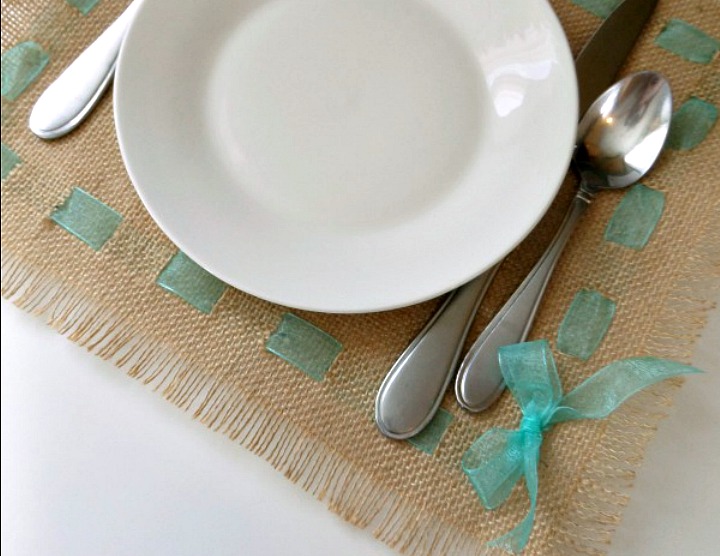
Many associate burlap with the cooler seasons of Fall and Winter, but it’s also making a statement in Spring and Summer decor. Take for example, this simple do it yourself Burlap and Ribbon Placemat. The earthy canvas gains new life when laced with iridescent ribbon in a fresh spring hue.
Burlap. Over the past few years, what was once humble, country decor has turned sophisticated chic. Not only do you see burlap on lampshades, wreaths, pillows, placemats, chargers and as table runners, but it’s also the go to complement in many weddings.
I think burlap has gained popularity not only for it’s neutral color which can anchor any color scheme, but also for its fun texture. Burlap is also relatively inexpensive and easy to work with, making it popular for the novice and frugal-minded.
Which brings me back to this DIY Burlap and Ribbon Placemat. It’s charming, frugal and super easy to make!
Let’s Make a Simple Burlap & Ribbon Placemat
Supplies:
- roll of burlap or burlap by the yard
- scissors
- ribbon
- sewing machine, needle, and thread
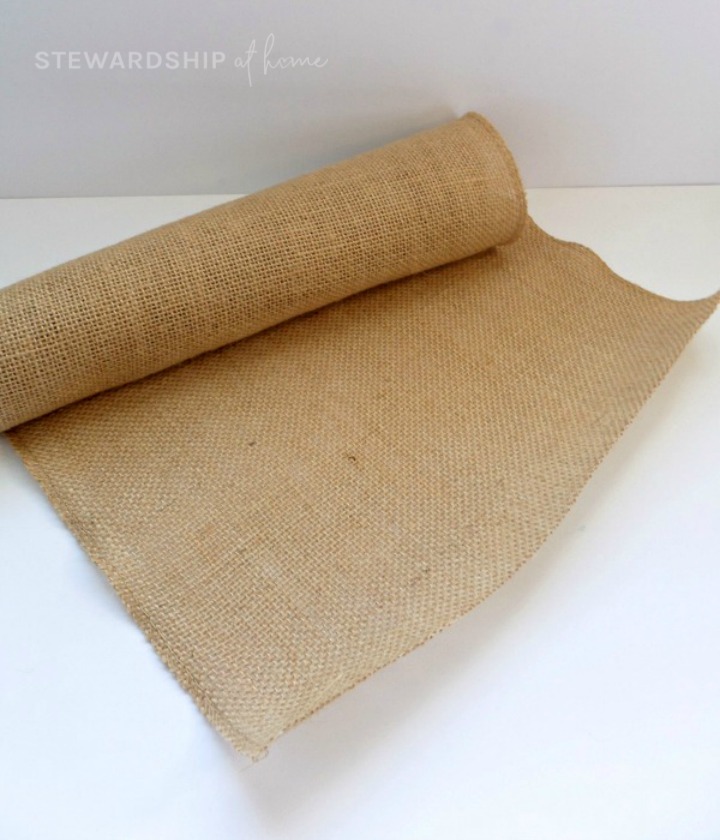
Begin by rolling out the roll of burlap and cutting it to size. Determine how large you want your placemats and cut the burlap into squares or rectangles.
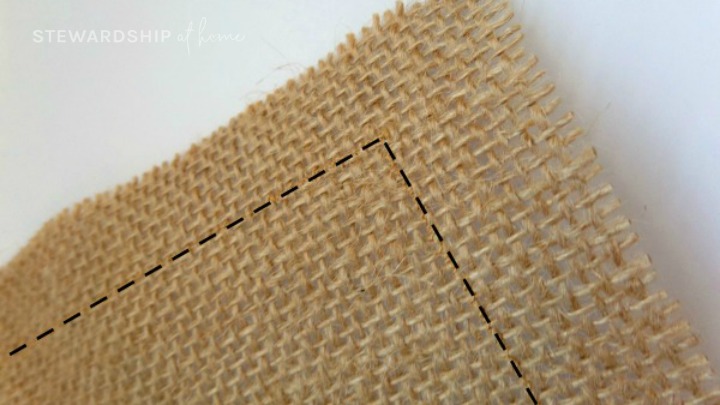
Next will sew around the edge of the burlap rectangle about 1′ in from the edge on all sides. This will allow the edges to fray but create a clean stopping point.

Use thread approximately the same color as the burlap it will not be seen. Once the edges are sewn, begin pulling the horizontal and vertical pieces of burlap thread out until the edges are frayed back to the stitch.

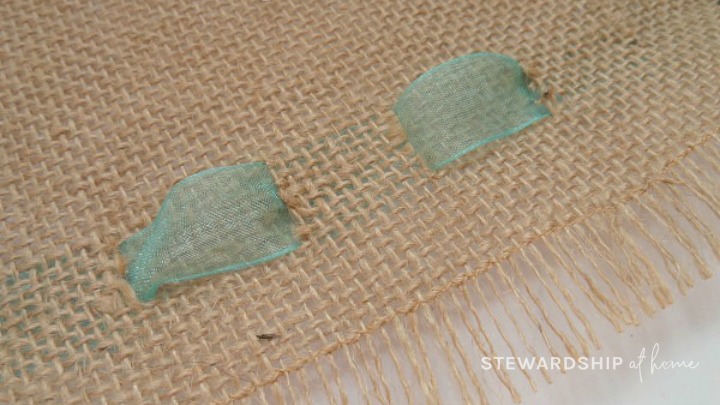
Once the edges have been frayed, fold one edge up about 2″ and cut notches at 1″ increments. This will be where you will cut to feed the ribbon through.
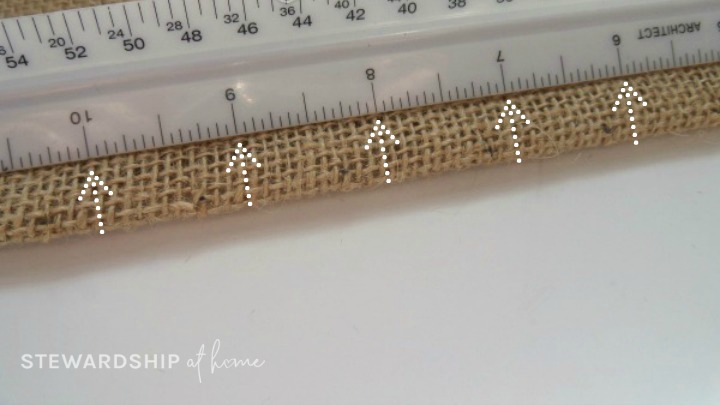
Use a ruler to measure and then to help hold down your fold while you cut a slit at about every one inch marking. You want the notch to be just large enough for your ribbon to slip through. Repeat with remaining sides.
Note: keep in mind that you’ll want to create a number of notches that will ensure the ends of your ribbon come out on TOP of the placemat at two diagonal corners – read ahead to the next two steps to get a feel for the entire project.
There are two methods you can use for threading your ribbon to create a basket weave look around the edges of your burlap (see below):
Lacing Method 1
Cut two pieces of ribbon for each placemat the length of two sides plus 8-10 inches extra. Next, starting at the bottom right corner, feed a piece of the ribbon clockwise through the openings until you reach the top left corner.
Take the second piece of ribbon and start again at the bottom right corner, only this time feed the ribbon through the notches in a counter clockwise direction until you again reach the top left corner.
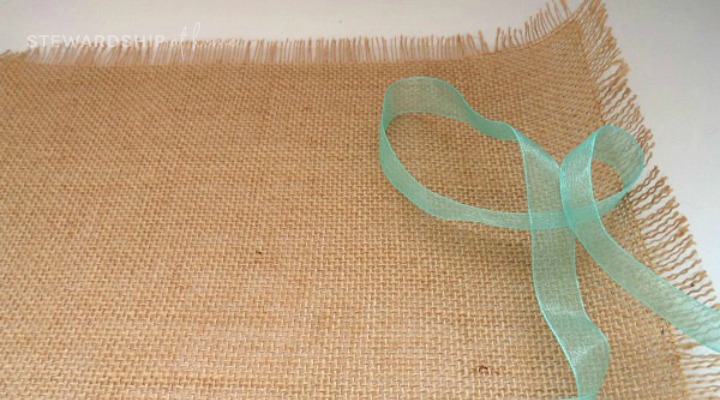
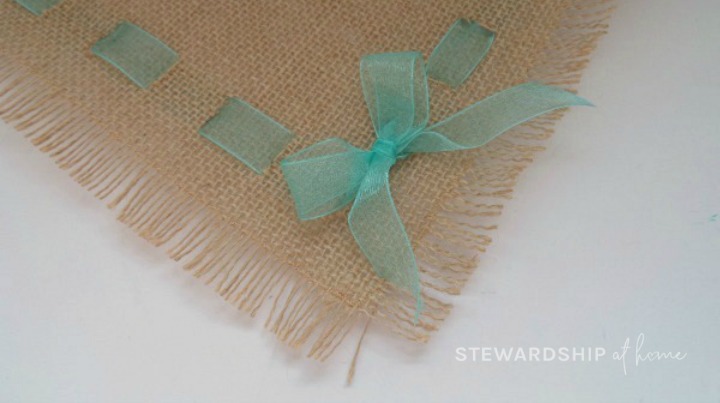
Once you are finished feeding the ribbon through, the ends should come out of the top of the placemat at 2 diagonal corners. Tie a bow on the top of the corners.
Lacing Method 2
Cut four pieces of ribbon for each placemat the length of one side plus 4-5 inches.
Your placemat is finished and ready to use! It will be a great addition to your table setting and when Spring is done and Summer has moved on, you can lace up your burlap with a jewel-toned ribbon and anchor a fall flower to the corners instead of tying a bow.
Change the ribbon to match your decor or fit any holiday throughout the year!
Looking to add just a touch of burlap to your tablescape? You’ll love these DIY Burlap Chargers!
How To Make a Simple Burlap & Ribbon Placemat
Simple Burlap and Ribbon Placemat
- rolled burlap
- ribbon
- scissors
- sewing machine or needle/thread
-
Begin by rolling out the burlap and cutting it to size. Determine how large you want your placemats and cut the burlap into rectangles.
-
Sew around the edge of the burlap about 1" from the edge on all sides. This will allow you to fray the edges but will create a clean stopping point. Use thread approximately the same color as the burlap so it will not be seen.
-
Once the edges have been frayed, fold one edge up about 2" and cut notches at 1" increments. This will be where you will cut to feed the ribbon through.
-
Once the edges have been frayed, fold one edge up about 2″. Then mark the burlap at 1″ increments. This will be where you will cut to feed the ribbon through. Use a ruler to measure and then to help hold down your fold while you cut a slit at about every one inch marking. You want the notch to be just large enough for your ribbon to slip through. Repeat with remaining sides.
-
Cut at each mark creating a slit just large enough for your ribbon to slip through. Repeat with remaining sides.
-
There are two methods you can use for threading your ribbon to create a basket weave look around the edges of your burlap:
Lacing Method 1
-
Cut two pieces of ribbon for each placemat the length of two sides plus 8-10 inches extra.
-
Starting at the bottom right corner, feed a piece of the ribbon clockwise through the openings you’ve made until you reach the top left corner.
-
Take the second piece of ribbon and start again at the bottom right corner, only this time feed the ribbon through the notches in a counter clockwise direction until you again reach the top left corner.
-
Once you are finished feeding the ribbon through, the ends should come out of the top of the placemat at 2 diagonal corners. Tie a bow on the top of the corners.
Lacing Method 2
-
Cut four pieces of ribbon for each placemat the length of one side plus 4-5 inches. Feed pieces of ribbon through each side.
-
Make sure that the ribbon comes out the top of your placemat at 2 two diagonal corners and to the under side at the other 2 diagonal corners.
-
Use the two ends to tie a bow on the top of the corners opposite each other and use the two ends on the underside of the other corners to tie a simple knot.
This is too cute I love how much more the ribbon adds to the project, great job
Thanks Chrisy!