I’m a busy mom of five so I’m always looking for ways to to create special moment. These DIY Chocolate Dessert Bowls are one of my favorite ways to do just that. They’re also great for parties and holiday celebrations!
Chocolate Dessert Bowls are easy to make!
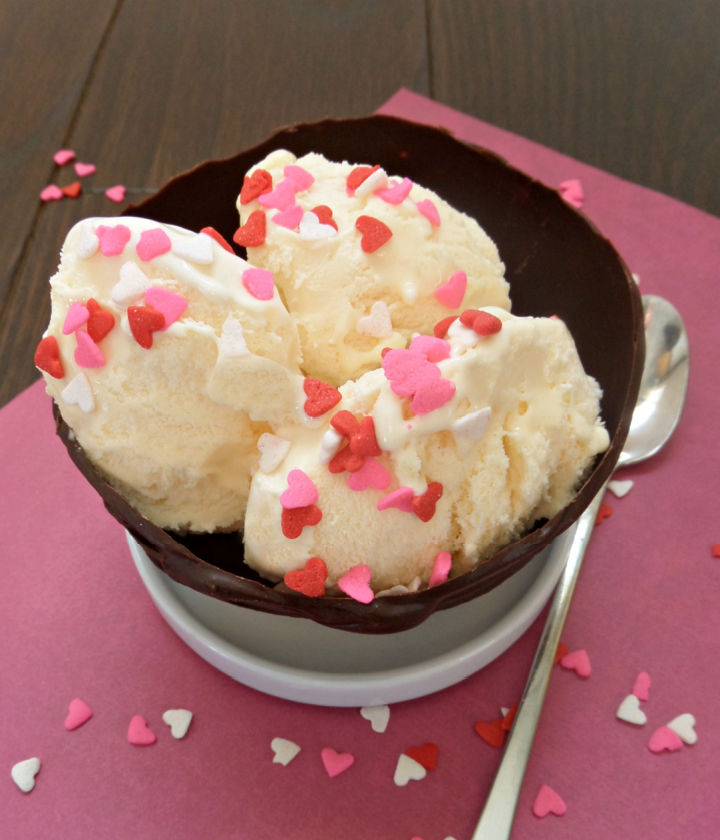
With just four ingredients and about 30 minutes, I can create elegant, edible chocolate bowls to fill with a special treat that will delight my family and make memories.
Chocolate dessert bowls are simple to make. All you need is dark chocolate chips, balloons, parchment or wax paper and non-stick cooking spray.
Start by inflating your balloons to the diameter you’d like your bowls’ circumference to be. Wash, rinse and completely dry your balloons. Spray each balloon with a light coating of non stick cooking spray and set aside.

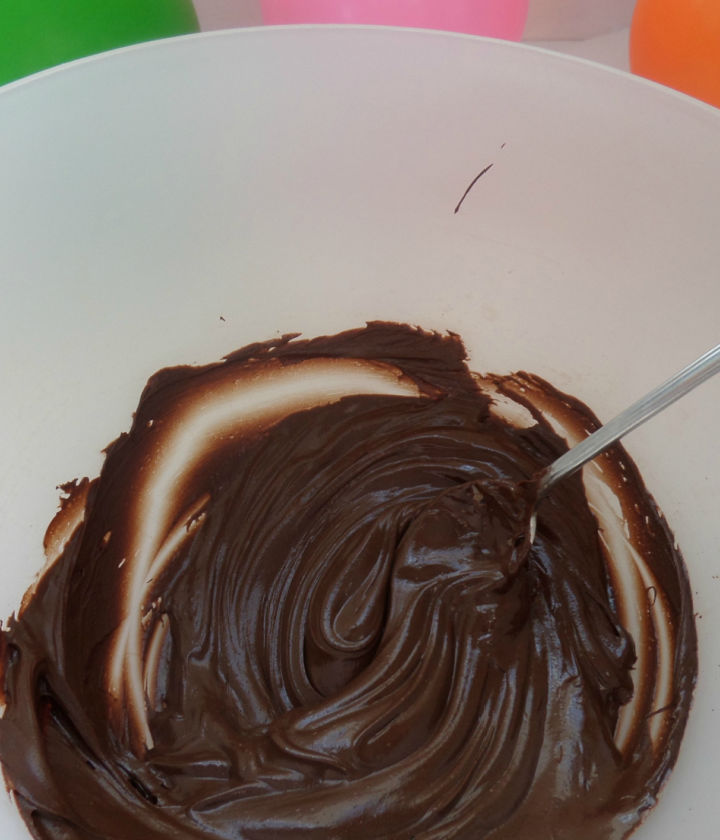
Then place your chocolate chips in a microwave safe bowl. Heat for 2-3 minutes, stopping every 30 seconds to stir. You want the chocolate to be melted and smooth, but not overcooked.
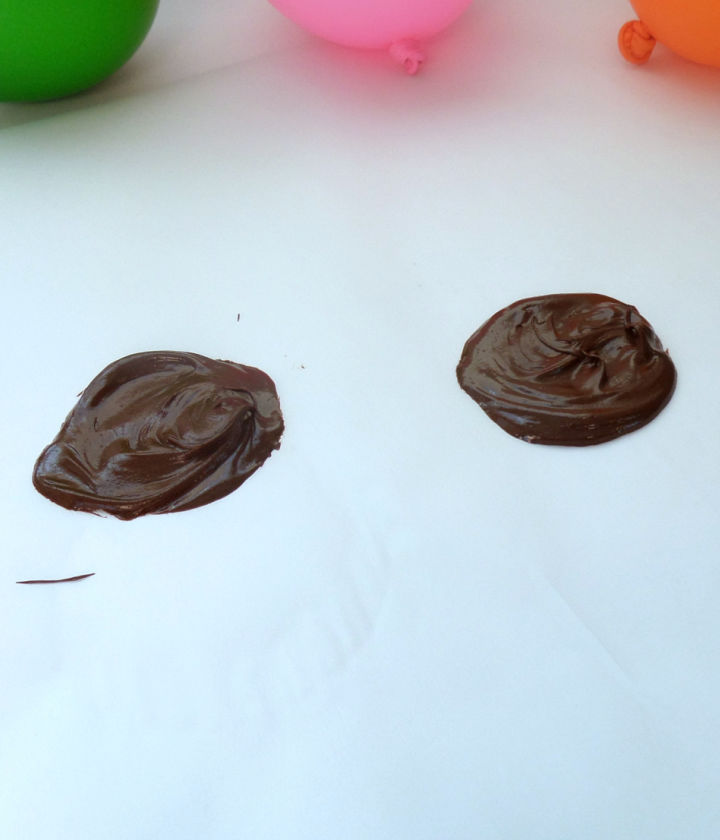
When the chocolate is completely melted and smooth spoon a small amount of chocolate onto the parchment paper to make “spots”. These form the the base for your chocolate bowl so it stays upright.
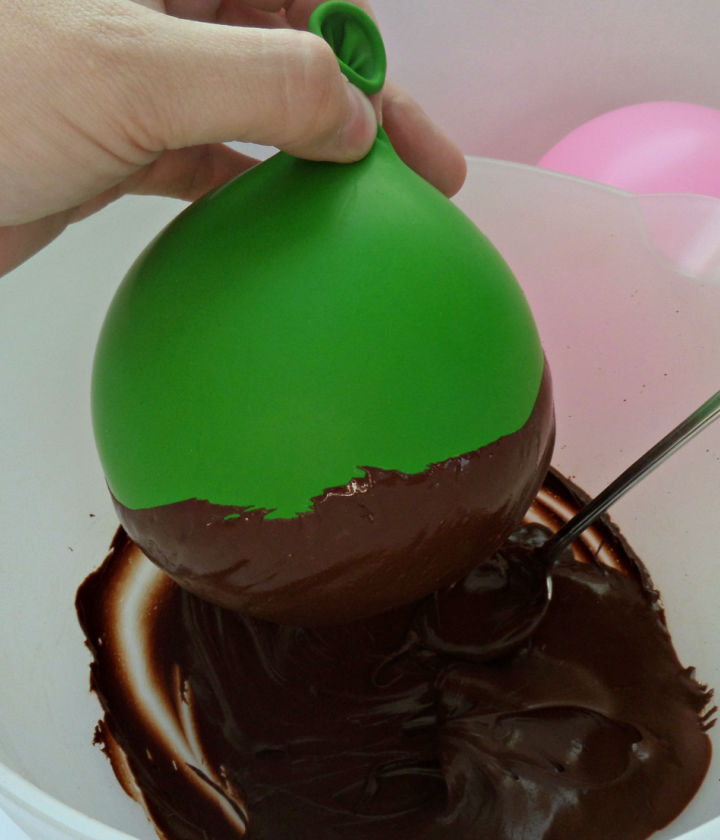
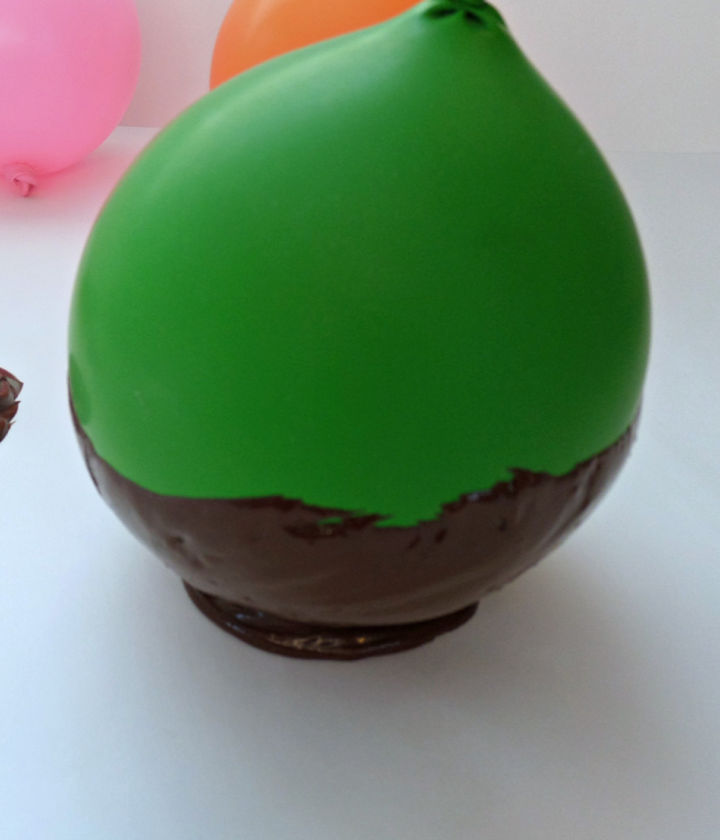
Next, you will carefully dip the balloons into the melted chocolate. Use a spoon to smooth the chocolate if necessary. You’ll want the chocolate coating to be a fairly even thickness.
Place the chocolate coated balloon onto the chocolate base you created on the parchment paper.
Place the chocolate bowls in the freezer for 20-30 minutes or until they are completely hard. Remove the bowls from the freezer and use a knife or pin to pop the balloon.
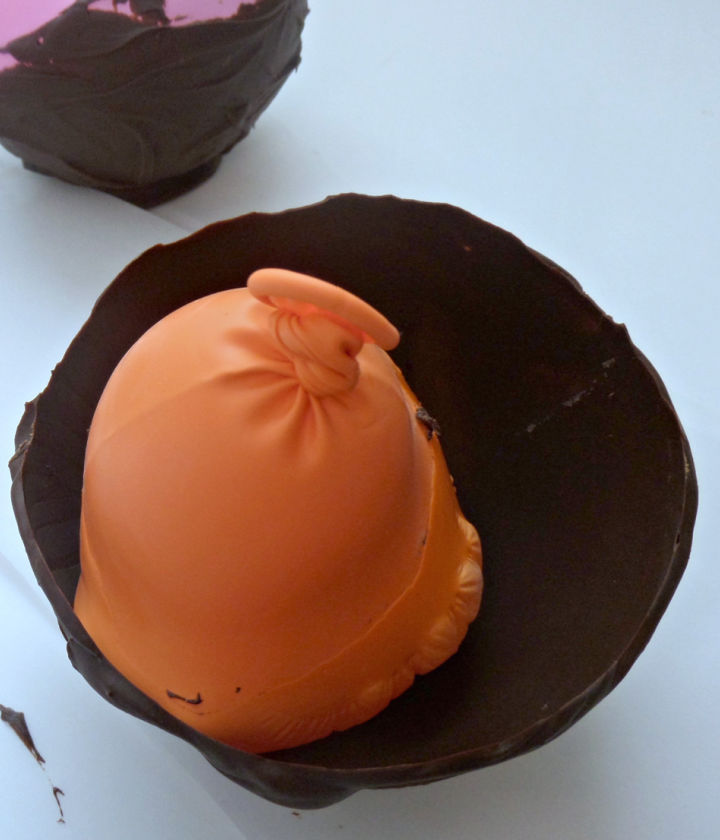
Remove all of the balloon remnants from the bowl. Return the bowls to the freezer until ready to use.

Creative Ways to Fill Your DIY Chocolate Dessert Bowls:
We chose ice cream and sprinkles, but there are so many ways you could fill these DIY Chocolate Dessert Bowls. You might want to try:
♦Frozen yogurt for lunch with the gals.
♦Fresh strawberries for brunch.
♦Homemade truffles for Valentine’s Day.
♦Fresh berries and cream for a dinner party.
♦Cake and ice cream for a birthday party.
However you choose to fill these beautiful edible chocolate bowls, they’ll be a hit at your next get together!
DIY Chocolate Dessert Bowls

- chocolate chips
- Balloons
- parchment paper
- Non-stick Cooking Spray
- Inflate balloons to the size bowl you wish to create.
- Wash, rinse, and completely dry the balloons.
- Spray each balloon with a light coating of non stick cooking spray and set aside.
- Place dark chocolate chips in a microwave safe bowl and heat for 2-3 minutes stopping to stir every 30 seconds.
- When chocolate is completely melted and smooth spoon a small amount of chocolate onto the parchment paper. This will become the base for your chocolate bowl.
- Carefully dip the balloons into the melted chocolate. Use a spoon to smooth the chocolate if necessary. You’ll want the chocolate coating to be a fairly even thickness.
- Place the chocolate coated balloon onto the chocolate base you created on the parchment paper.
- Place the chocolate bowls in the freezer for 20-30 minutes or until they are completely hard.
- Remove the bowls from the freezer and use a knife of pin to pop the balloon. Remove all of the balloon remnants from the bowl.
- Return the bowls to the freezer until ready to use.
- Serve your favorite ice cream, mousse, or other dessert in these beautiful edible chocolate bowls!
Well, the first try was……not the best. But I’m going to try again. I think a)my balloons were too big and b) I didn’t have enough melted chocolate. I thought I had plenty until I dipped out for the placeholders.
If at first you don’t succeed, try, try again!!
Yummy! I was so surprised to see that something so high-end looking could be made with a balloon.
These are great! This will come in handy tomorrow night for dessert 🙂
Love these!