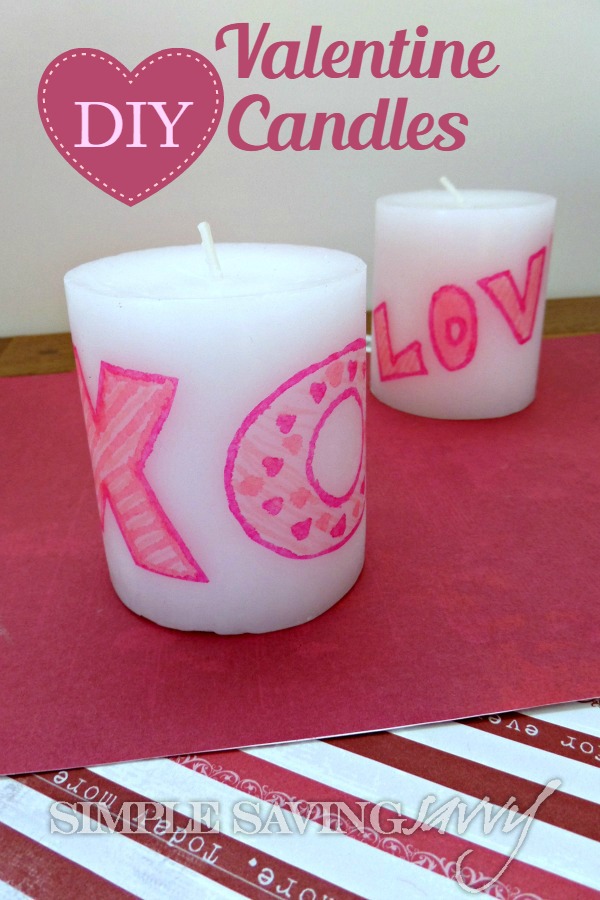
I love candles. These days, they come in every shape, size and color, and it seems like they keep getting fancier and fancier. They also keep getting more expensive. I figured out a fun way to customize inexpensive candles and created these DIY Valentine Candles.
The cool thing about these candles is that you get to create your own design, so you can easily adapt this tutorial for gifts for Mother’s Day, Grandparent’s Day and many other holidays and occasions.
How To Make DIY Valentine Candles
What you will need:
- plain white copy paper
- white tissue paper
- wax paper
- inexpensive white candles
- markers
- heat gun

Instructions:
Measure and cut a piece of tissue paper the same height and circumference as your candle.
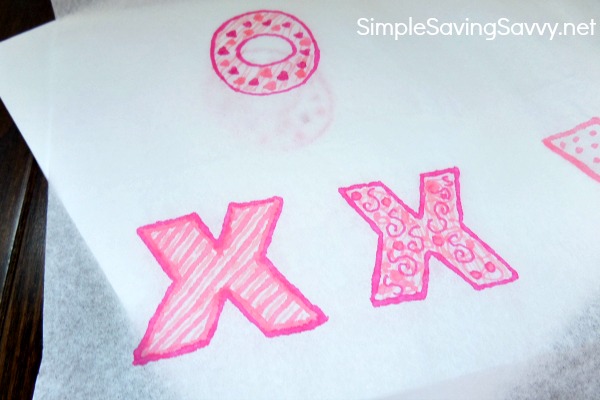
Lay the tissue paper over a piece of plain white copy paper. The copy paper is very important. It reduces how much the markers will bleed on the tissue paper and prevents the marker from bleeding through onto your work surface.
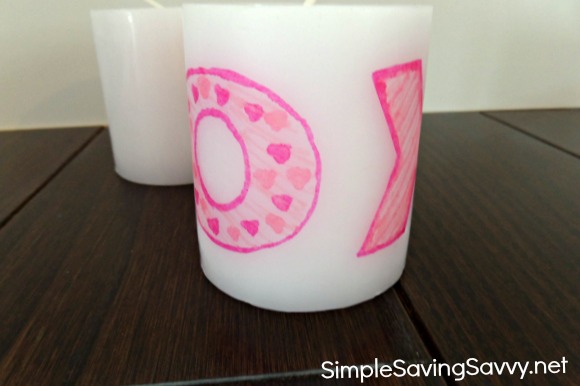
Use the markers to trace or draw a design onto the tissue paper. Use as many colors as you’d like but keep the outline of the design simple with clean lines. This will make it easier to cut out your design. I drew X’s and O’s for Valentine’s Day as well as the word LOVE.
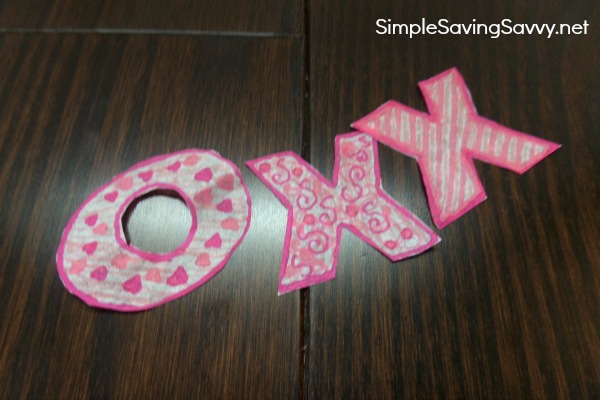
When you’ve finished drawing your design, cut the letters or design out, cutting away as much of the plain paper as possible. With the X’s and O’x, I cut each letter out separately.
Lay your design over your candle. Wrap a piece of wax paper larger than your candle over the design. Pull it tight around the candle, holding the design in place.
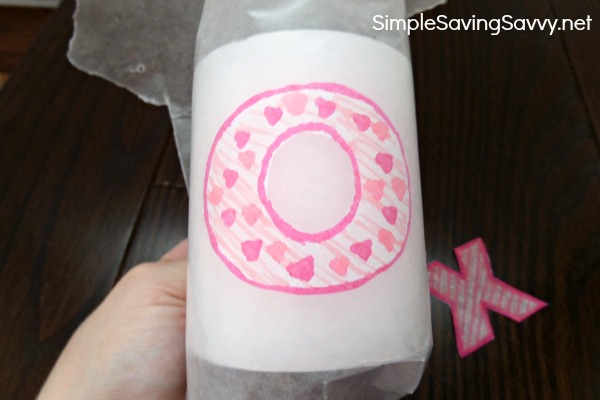
Next, wave the heat gun back and forth over the design. You’ll want to avoid leaving the heat gun in one area for very long as it will melt the candle. I watched for the wax to begin to look shiny and then moved to a different area, continuing until the entire design has been heated.
You may also be able to use a hair dryer, depending on how hot the highest setting gets.
Carefully pull the wax paper away to reveal your design that has now become part of the candle!
You can also make these candles a little more “grown up” if you prefer. Here’s how:
- Find a digital graphic image that you like.
- Carefully tape a piece of tissue paper to a piece of printer paper at the top and bottom.
- Print out your digital graphic on the paper layers, making sure the image is printing on the tissue paper side. (note: make sure your tape is not over the ends of the paper, as you do not want to jam your printer)
- Proceed with the instructions in the tutorial above to transfer your image to the candle.
See? I told you these DIY Valentine Candles were easy to make and since they only cost a few dollars, it’s a win win. I’m thinking you could not only make these as gifts, but they would make a simple craft for a birthday party, sleep over or girls’ night out.
Have you customized your own candles before?
What a really neat craft idea and just in time for Valentine’s Day too! Thank you
A very cute and easy-to-do craft project – yay! I’m so craft un-inclined. Even *I* could do this one with my kids. Thanks for sharing.
I know, right? I’m thinking my daughter and I might try some more “grown up” ones soon.
Fun! I think my daughter would really enjoy this craft! These would be awesome gifts for family members.
Love it! I’m going to have to try this with my daughter – thank you!
That is so cool! Thanks for sharing how to do this. Thanks for linking up to last week’s Bloggers Brags Pinterest Party. I’ve pinned your post to the Bloggers Brags Pinterest Board.